Innovation by Design: Vent Installation Detector (VID)
“The YouTube content is for observation purposes only. The information herein is provided “As Is” “With All Faults” and without warranties or representations of any kind, including but not limited to the accuracy of the same. Please seek professional assistance or qualified installers with Navien products. In no way shall Navien be liable for any special, indirect, direct, or consequential damages. Navien assumes no liability for property damage or personal injury or death as a result of any information contained herein and use of the same is voluntary and at your own risk. Navien, at its sole discretion, has the right to change or modify any contents of the video and may review and delete comments made by the viewers. This video is protected by copyright and IP laws and Navien reserves all rights herein.”
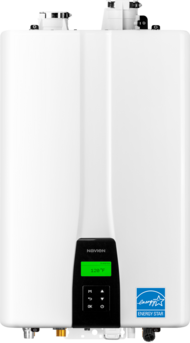
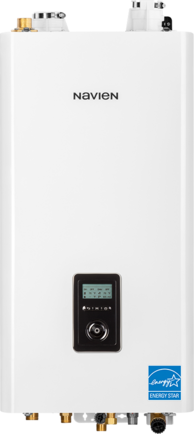
Starting in 2021, Navien’s newly introduced water heaters and boilers, now come standard with a pre-installed Vent Installation Detector (VID) to support proper vent pipe installation into the vent collar.

What does VID do?
Connected to the vent collar, the VID detects whether the vent pipe has been inserted into the collar at a sufficient depth and signals improper installation at the time of setup.
Insert pipe at least 3 inches or 76mm into the collar.

The Detector is located inside the vent collar to check for proper pipe insertion.

Always properly cut the pipe at a 90-degree angle and deburr the vent pipe before installing so the pipe is fully connected to the exhaust gas vent fitting.

Always use a length of straight pipe when starting the vent run. Never start the vent run with a street elbow or angled fittings.
As guidance, measure 3.0" inches from the end of the vent pipe and draw a mark at that distance.

Insert the pipe into the vent collar to start the vent run. Make sure to completely slide the vent into the collar until the end makes contact with the bottom of the socket.

If the pipe is not inserted at a sufficient depth, an error code will flash on the control panel.

Verify that 3.0" of the pipe has been completely inserted into the collar and that the mark is no longer visible.
Finally, tighten the clamp with an 8-millimeter socket wrench to properly seal the joint.

Thanks for reading. To keep up with Navien subscribe to our YouTube channel. Also follow us on Facebook, Instagram, Twitter, and Linkedin
All installations must be performed by a qualified service provider and conform to the Installation and Operation Manual included with the unit. Improper installation can lead to failure, damage, personal injury, or death. Navien is not responsible for improper installation.


